Installation
Get the archive for your GLPI
First, download archive:
- Recent versions (>= 0.90) : https://github.com/fusioninventory/fusioninventory-for-glpi/releases
FusionInventory for GLPI tarball name follow this convention:
- fusioninventory-for-glpi_
- GLPI major release (0.80, 0.83, 0.84, 0.85, etc)
- a '+' symbol
- FusionInventory release
Examples
-
9.5+4.0
-
10.0.0+1.0
Installation
Warning
If a previous FusionInventory version is already installed, you must read the Update page.
Important
Please, do a backup of your database before install 
- Uncompress the archive into the plugin folder of GLPI. File list looks like:
|- glpi
   |- plugins
      |- fusioninventory
         |- index.php
         |- hook.php
         |- inc
         |- ...
Installation procedure
Run these commands from console / terminal:
php bin/console glpi:plugin:install --username=glpi fusioninventory
php bin/console glpi:plugin:activate --username=glpi fusioninventory
- Connect to GLPI
- Go in the menu Setup > Plugins
- Install the plugin FusionInventory
- Activate FusionInventory
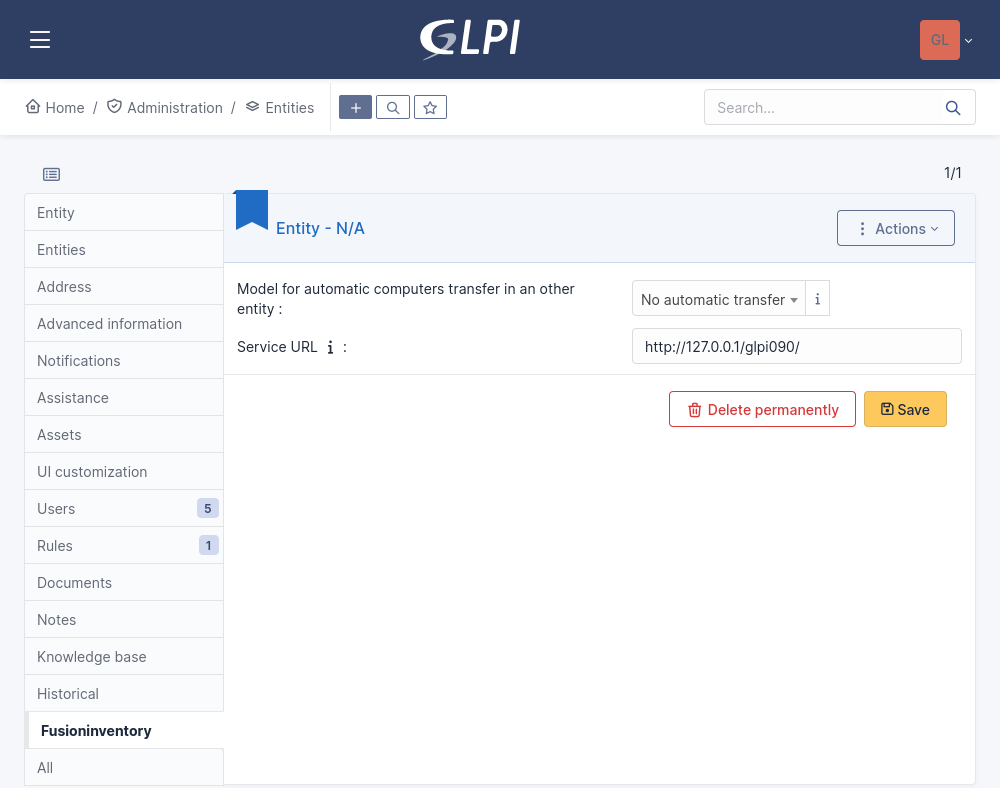
Initial configuration
Once the plugin is activated, you will have to go on the Administration > Entities > Root entity > tab FusionInventory
page to set the Service URL. You need to enter the location of your GLPI server, for example http://glpi.mydomain/, do not add plugins/fusioninventory in the URL.
Options detail in general configuration
In general configuration of the plugin FusionInventory for GLPI, there are the options:
SSL-only for agent: send an error response to an agent when this agent communicates to the server without SSL.
Security
Important
We strongly recommend to activate SSL on the server side to protect human user communications, and eventually agent communications too.
See security page for details.
GLPI cron
It's very important for tasks management, see cron in GLPI for details.
Agent configuration
Once this is done, you can install and configure your agents.